Beginners guide to learning Mosaic painting
It is simple, creative, fun and a learning exercise for kids
Among the sea of art forms present, mosaic art is the most attractive, bright, and mesmerizing piece of frame that holds the attention for longer. In art, mosaic is decoration of a surface with designs comprising closely set variously coloured small pieces of material, such as stone, glass, tile, or shell. With these pieces of material placed on the surface makes the design come alive. Mosaic also differs from inlay in the size of its components. Mosaics are a traditional craft and will take some sometime, patience, and planning to create a piece.
Here is what all you need for mosaic painting
Mosaic tiles, these can be glass block, some glitter glass mini tiles, and some irregular shaped mosaic stones. You can also add some coloured buttons and a beer bottle caps painted inside.
A baseboard to stick your tiles on, you can choose a picture frame, vases, wooden board or plant pots.
Mosaic tile craft grout and a large craft stick.
A sponge or cloth to wipe the excess grout
Pencil, paper, glue, and marker
How to make a mosaic painting
To being with, draw a design on the paper. Once you are done drawing it on the paper, place the paper on the board that you have chosen to do your mosaic painting on, and using a marker draw the shape or design onto the chosen board.
Now, on a cloth place the unbroken tiles or glass pieces that you have collect and fold them into the cloth. Take a hammer and with light hands break them into pieces. Not, it’s very important to wrap the tiles in the cloth or wear safety goggles to protect your eyes. And if you have pre-ordered tiles use them too.
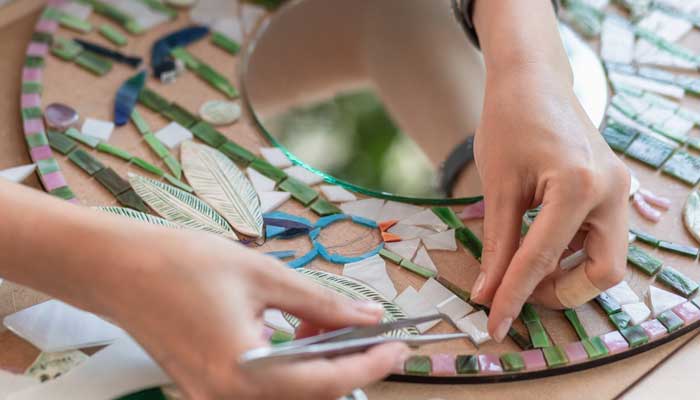
Now, assemble your different coloured tiles in different cups or bowls and think carefully about the colour combination you want on your design. Now carefully pick piece one by one, add glue on the back and stick it into the design by sticking the coloured side up. Glue each piece individually, like solving a puzzle. You will have to see what piece fits where and are fairly close together so the grout lines look neat in the end. Using two different colours in one design gives it a lot of dimensions
Once done let the glue sit for the next 24 Hours.
Now, spread the grout using the craft stick. Remember to press hard to get in between all cracks and crevices around the pieces.
Then allow the grout to set for 20 minutes. Then using a sponge and water, lightly wipe off excess grout and let it again sit for 24 Hours. Vola! Your art is ready.


